WooCommerce One Page Checkout
A research shows that 1 in 10 people who give up their cart do it because the checkout procedure takes too long. Now, you can decrease cart abandonment by providing the whole purchase process on an individual page, with WooCommerce One Page Checkout.
Clients can add items to a purchase, or eliminate them, and finish payment without leaving the site.
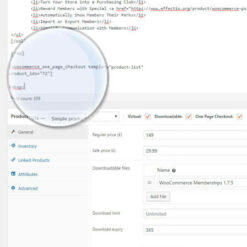
One Page Checkout utilizes a WordPress shortcode to place fields. This shortcode can be used to add the checkout procedure to any page, post or custom post sort.
WooCommerce One Page Checkout Features
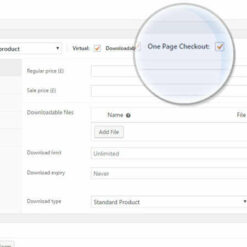
Product Selection + Checkout
One Page Checkout displays product selection and checkout forms on a single page. Customers can add products to an order (or remove them) and complete payment without leaving the page.
Curated Products
You choose the products to display on each checkout page. Create a page for just the one featured product, a few related products for a promotion, or your store’s entire catalog.
Custom Landing Pages
You can also create multiple unique landing pages for special events, promotions or select customers. Add the shortcode to any page (or post) and add your content above the shortcode to display unique sales copy before the purchase process.
Built-in & Custom Templates
One Page Checkout includes several built-in templates, including a simple pricing table and list of products. Choose the template most suited to your page or if the built-in templates don’t fit your needs, create a custom template.
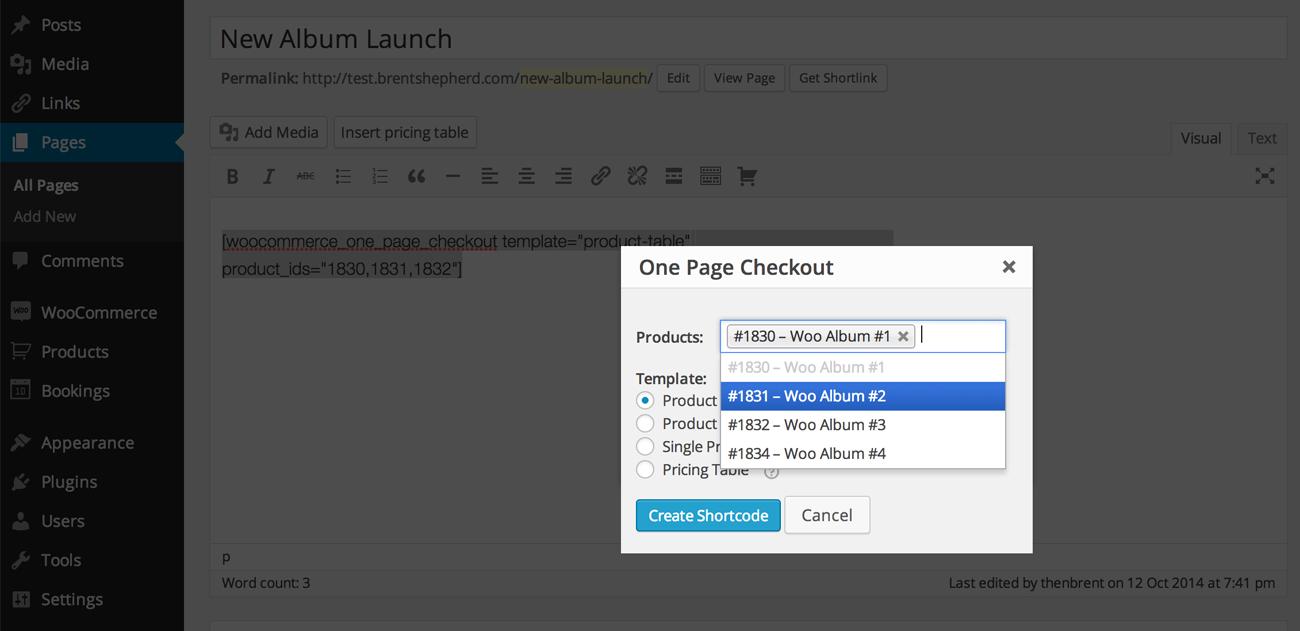
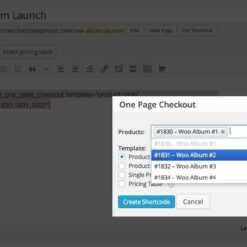
One Page Checkout Graphical Interface
In order to insert the One Page Checkout shortcode, you have to follow some steps:
- First of all, go to Pages > Add New or Posts > Add New.
- Secondly, make sure the editor is in Visual Mode.
- Thirdly, click on the One Page Checkout icon.
- After that, click inside the Products field and type the product names to display.
- Then, select the products to display and the template to use for product selection fields.
- In the end, click Create Shortcode and everything is ready.
Plugin Attributes
Product IDs Attributes
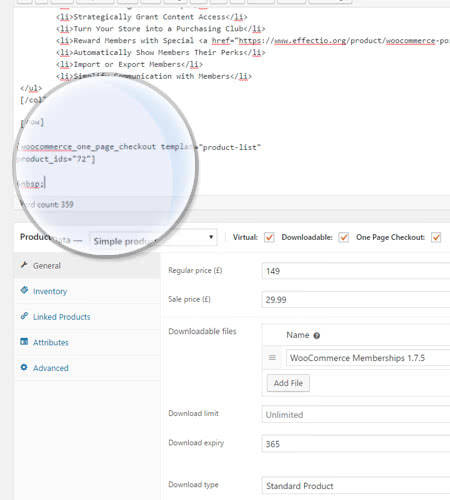
You can utilize the product_ids attribute if you would like to display a limited set of items. This feature expects a list of item IDs split up by commas. The transaction of the product ID will also establish the order in which the items are shown on the checkout page.
Template Attribute
If you would like to manage how item selection areas are shown, you can use the template feature. By making use of the template shortcode attribute, you can pick up either a built-in or custom template.
When does Woocommerce One Page Checkout come in handy?
If you want to turn any page into a checkout page and let your customers buy easier products from you, Woocommerce One Page Checkout is for you! Create customized sites, sites your users have never seen before, and let them have an amazing buying experience.
Getting the plugin
You’re probably wondering how to get Woocommerce One Page Checkout. It’s simple: in 3 easy steps: register on Effectio, download the Dashboard and install the desired plugin directly in your site. All you have to do afterwards is to activate Woocommerce One Page Checkout and start building the checkout pages that you want.
How to use Woocommerce One Page Checkout
1. Settings from Woocommerce
Go to Woocommerce -> Settings and you will find in the right part of the screen the name of the plugin.

If you click on it, the above image will show up. Here is the Checkout Behaviour. You can either enable the auto-scroll or simply disable it. Depending on your business’ purpose, any of these two can be a great idea. However, the more elegant a site is, the better.
2. Actually adding the page
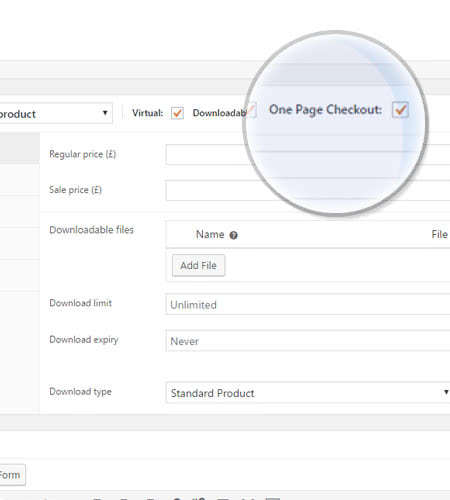
In order for this plugin to work, you should have the Classic Editor installed on your site. Go to Pages -> Add New Page and the following options will pop up:

The last icon is this plugin’s trigger. If you click on it, this screen should show up:
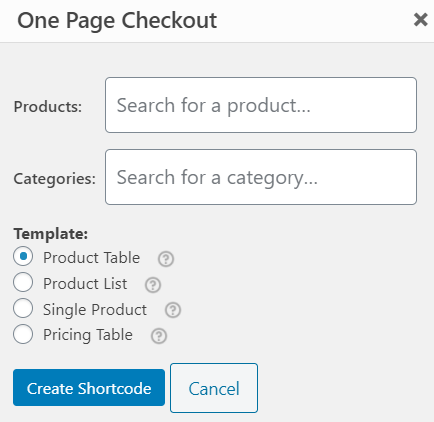
From here, you should select the product(s) you want to sell and/ or the categories. There are 4 templates available: Product Table, List, Single Product and Pricing Table. Each of them has an unique aspect. At the end, click on “Create Shortcode” and it will appear in the page. If you want to cancel the whole process, select “Cancel”.
Tips & Tricks for Woocommerce One Page Checkout
A great tip for your site would be that you actually add content above the checkout section. This will improve users’ experience, as well as their journey. First of all they have to know what your products are about, then they will buy them. Isn’t it so?
Another idea would be to test the different templates offered by this plugin. One might convert better for one type of users, while others might not. This entirely depends on your business’ type, so try them all!
What is really cool about this plugin is that on one page you have it all: the description, the products and, above all, your users can enter their data in order to complete the checkout. The quantity can also be added and the shopping cart will be automatically filled.
To conclude
In conclusion, Woocommerce One Page Checkout plugin is an amazing way of creating conversions. People will click on one page and they will be shown the products and the sum they have to pay. Depending on your case, this could be a great alternative to the classical checkout. Also see other amazing plugins offered by EffectIO!


edendvatri321 –
If you want to displays product selection and checkout forms on a single page you need this!
lipasimone –
You choose this products if you want to display on each checkout page, its Perfect!!!
martindumas8 –
Good product, thank you 🙂
sekstefani –
Thank you very much for this product! Perfect!!
Stefani Sekovska –
Best product from Effectio!!